
Have you ever needed a small container but didn’t have one on hand? With just a sheet of paper and a few simple folds, you can create your own custom paper box in minutes. This versatile DIY project is perfect for storing small items, presenting gifts, or even as a fun craft activity. Whether you’re an origami enthusiast or a complete beginner, making a paper box is an easy skill to master. In this step-by-step guide, you’ll learn how to transform a flat piece of paper into a functional and attractive box. Get ready to unlock your inner craftsperson and discover the satisfaction of creating something useful with your own hands.
The Basics: What You Need to Make a Paper Box
Before you dive into the world of paper folding boxes origami, it’s essential to gather the right materials. Making a paper box is a fun and practical craft that requires just a few simple items.
Essential Materials
To start your journey in how to make a paper box, you’ll need:
- Square sheets of paper (origami paper works best)
- A flat surface to work on
- A ruler for precise folding
- A bone folder or credit card for crisp creases (optional)
The beauty of this craft lies in its simplicity. With just paper and your hands, you can create functional and attractive packaging ideas. Whether you’re a beginner or an experienced folder, these basic supplies are all you need to get started.
Choosing the Right Paper
When it comes to make a paper box, the type of paper you use can make a big difference. Origami paper is ideal due to its thinness and ability to hold creases well. However, you can also use:
- Scrapbooking paper for decorative boxes
- Recycled paper for an eco-friendly approach
- Specialty papers for unique textures and patterns
Remember, the size of your paper will determine the size of your finished box. Experiment with different sizes to create various box dimensions for all your storage and gift-giving needs.
Step-by-Step Instructions for Folding a Simple Paper Box
Ready to learn how to make a paper box? This easy origami project is perfect for beginners and creates a useful container for small items. Follow these simple steps to create your own paper folding boxes.
Gather Your Materials
To get started, you’ll need:
- A square sheet of paper (origami paper works best)
- A flat surface to work on
- Your hands and patience!
Folding Your Box
- Begin with your square paper color-side down. Fold it in half both vertically and horizontally, then unfold.
- Next, fold each corner into the center point, creating a smaller square.
- Fold the top and bottom edges into the center crease, then unfold.
- Now, fold the left and right edges to the center crease and unfold again.
- Pick up two opposite corners and bring them to the center, forming the box’s sides. Repeat with the other corners.
- Tuck in the flaps to secure the box shape.
Congratulations! You’ve just created a simple yet elegant paper box. This versatile packaging idea can be customized with different papers or decorations to suit any occasion. With practice, you’ll be folding boxes like a pro in no time.
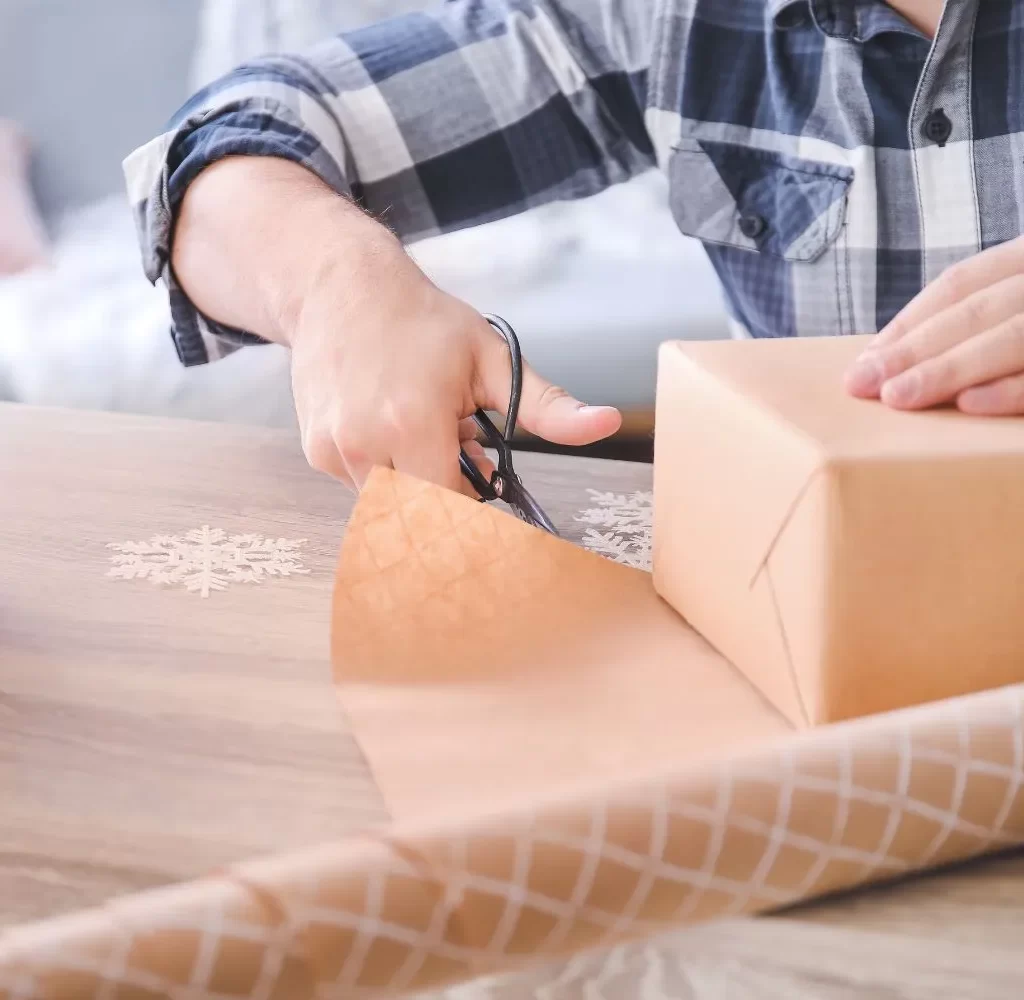
Tips for Decorating Your Paper Boxes
Now that you’ve mastered how to make a paper box, it’s time to elevate your creations with some decorative flair. These packaging ideas will transform your simple folded containers into eye-catching works of art.
Unleash Your Inner Artist
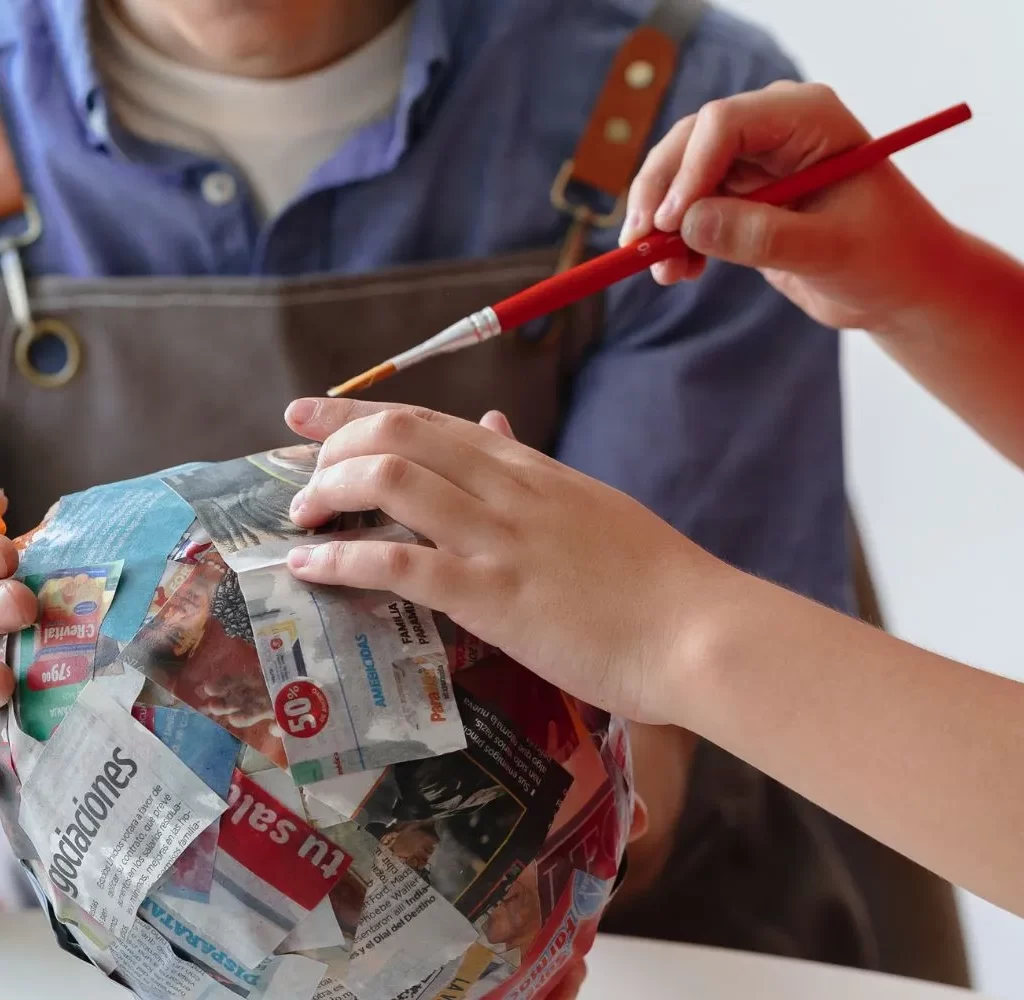
Get creative with colors and patterns. Use colorful paper or decorate plain boxes with paint, markers, or washi tape. For a unique touch, try paper folding boxes origami style by adding intricate folds or cuts to create textures and 3D elements.
Personalize with Purpose
Make your paper box stand out by adding a personal touch. Use stamps, stickers, or handwritten messages to customize each box. This works especially well for gift-giving or special occasions.
Nature-Inspired Embellishments
Bring the outdoors in by incorporating natural elements. Press flowers or leaves between wax paper, then adhere them to your box for a delicate, organic look. This technique adds a charming, eco-friendly vibe to your creations.
Functional Decorations
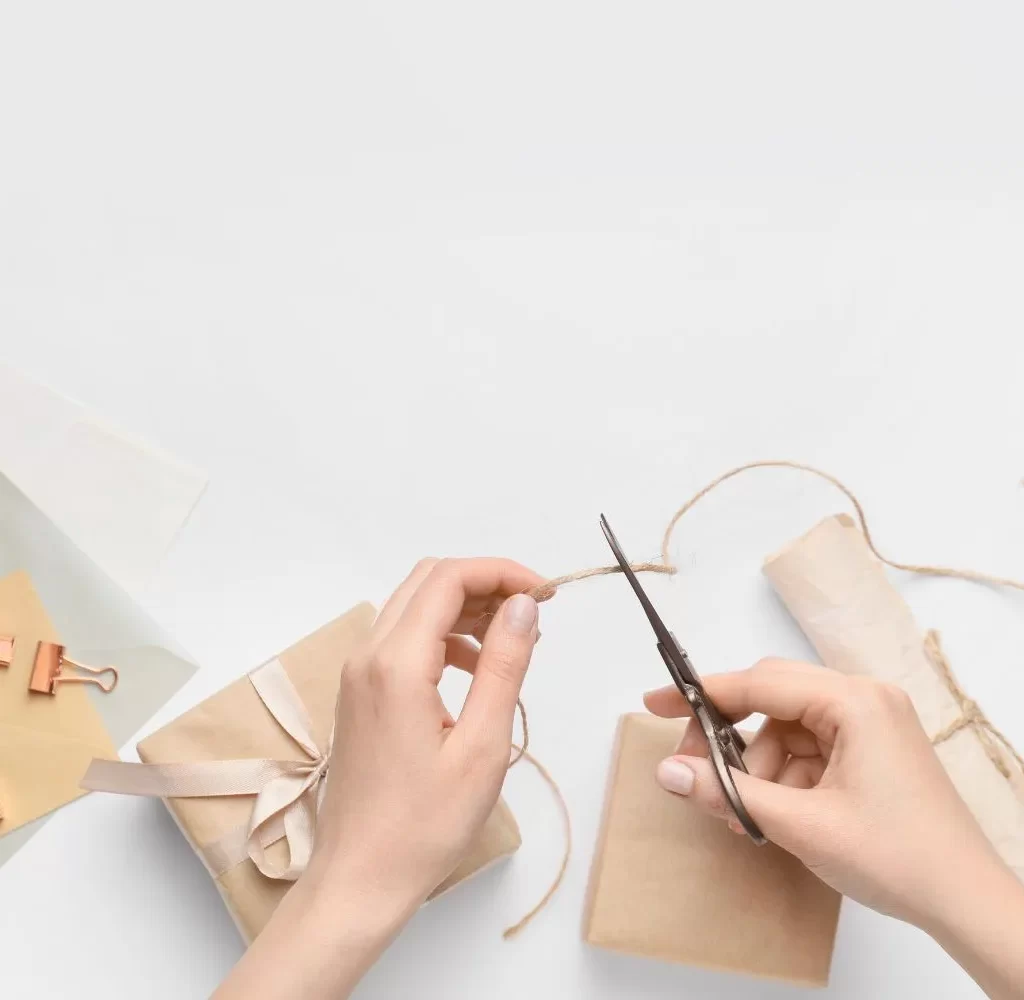
Consider adding practical elements that enhance the box’s usability. Attach ribbons or twine for easy carrying, or include a small tag with care instructions if the box will hold delicate items. Remember, the best decorations are both beautiful and functional.
By implementing these tips, you’ll transform the simple act of making a paper box into an opportunity for creative expression and thoughtful design.
Creative Packaging Ideas Using Paper Boxes
Once you’ve mastered how to make a paper box, the possibilities for creative packaging are endless. Paper folding boxes origami techniques can transform simple materials into stunning presentations for gifts, products, or personal items.
Personalized Gift Packaging
Create custom-sized boxes for uniquely shaped presents. Decorate your paper boxes with stamps, paint, or decoupage for a personalized touch. For weddings or parties, craft miniature boxes as party favors, filling them with treats or small keepsakes.
Eco-Friendly Product Packaging
For small businesses, handmade paper boxes offer an eco-friendly alternative to plastic packaging. Use recycled paper and natural dyes to create sustainable packaging that aligns with environmentally conscious brands. These boxes are perfect for artisanal soaps, jewelry, or handcrafted items.
Organizational Solutions
Don’t limit paper boxes to gifting – they’re excellent for home organization too. Create a set of coordinating boxes in various sizes to declutter your desk, organize craft supplies, or store small electronics. Label each box for easy identification, turning storage into a decorative element in your space.
By learning how to make a paper box, you open up a world of creative packaging ideas that are both functional and visually appealing. Whether for gifts, products, or organization, these versatile containers offer endless possibilities for customization and style.
Paper Box Origami: More Advanced Folding Techniques
Once you’ve mastered the basics of how to make a paper box, it’s time to explore more intricate paper folding boxes origami techniques. These advanced methods will elevate your packaging ideas and create stunning, functional designs.
Modular Origami Boxes
Modular origami involves creating multiple units and combining them to form a larger structure. For paper box enthusiasts, this opens up a world of possibilities. You can create expandable boxes, boxes with lids, or even multi-compartment organizers. The key is to fold identical units and interlock them precisely.
Tessellation Techniques
Tessellation in origami refers to repeating patterns that fit together without gaps. Applying this concept to make a paper box results in visually striking designs. You can create boxes with intricate geometric patterns on the sides or lid, adding both aesthetic appeal and structural integrity to your creation.
Wet-Folding Method
For a more sculptural approach, try wet-folding. This technique involves slightly dampening the paper before folding, allowing for smoother curves and a more organic feel. It’s perfect for creating rounded corners or flowing shapes in your paper box designs.
By incorporating these advanced techniques, you’ll transform simple paper into extraordinary packaging solutions. Remember, practice makes perfect, so don’t be discouraged if your first attempts aren’t flawless. With patience and persistence, you’ll soon be creating paper boxes that are both functional and works of art.
Conclusion
Now that you’ve followed these simple steps, you have a handmade paper box to show for your efforts. With practice, you’ll be able to create boxes of various sizes and styles to suit any need. Remember, the key is precision in your folds and cuts. Don’t be discouraged if your first attempt isn’t perfect – paper crafting takes patience and practice. As you become more comfortable with the process, try experimenting with different paper types, colors, and decorations to personalize your creations. Whether for gift-giving, storage, or simply as a fun DIY project, your new paper box-making skills will serve you well.
